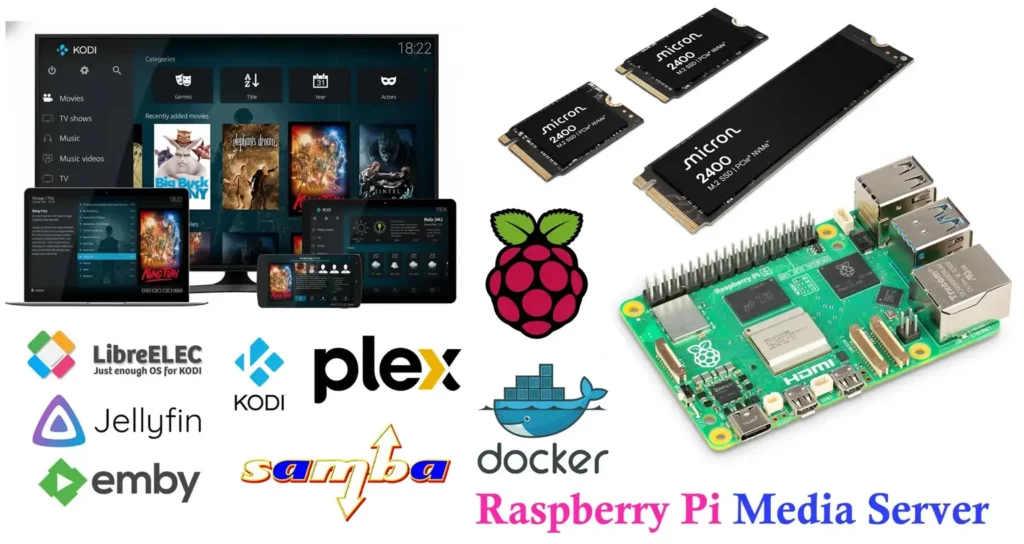
If you want a compact, low-cost home media server that streams movies, TV shows, music, and photos to TVs, phones, and smart home devices, the Raspberry Pi 5 has become one of the best value-for-money platforms available. With its improved CPU performance, faster I/O capabilities, and support for NVMe storage, it stands out as a highly capable server for household media needs.
This guide walks you through hardware options, software choices, step-by-step setup, storage and networking guidance, performance tuning, security practices, and routine maintenance. By the end, you’ll have a reliable, quiet, and efficient media server that doesn’t strain your budget.
This guide offers two practical approaches:
- Simple & reliable: Raspberry Pi 5 + NVMe or USB SSD + Jellyfin — straightforward and excellent for most homes.
- Advanced & flexible: Raspberry Pi 5 + Docker + multiple modular services — ideal for those who enjoy extra control, automation, and expandability.
Why use a Raspberry Pi 5 for a media server?
The Raspberry Pi 5 improves meaningfully on earlier Pi models, especially the Pi 4. Several core advantages make it well-suited for a 24/7 home media server:

- Substantial CPU performance upgrade — the Pi 5 is notably faster, enabling quicker metadata scanning, smoother library browsing, and better performance with Docker stacks.
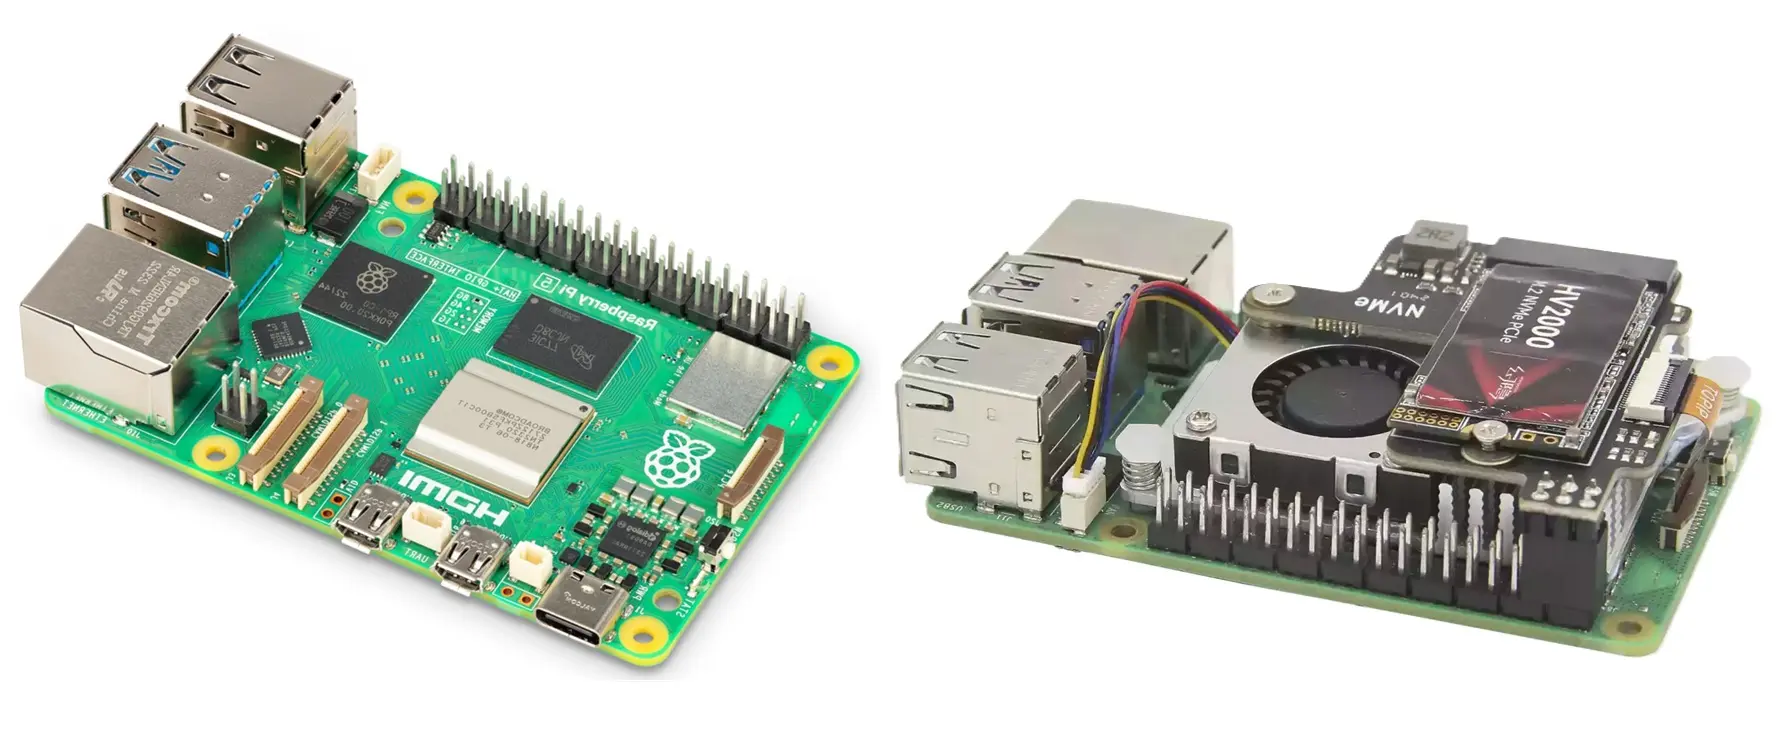
- Full-speed PCIe 2.0 lane — allows direct NVMe SSD storage using the official Raspberry Pi M.2 HAT, giving you high-speed, low-latency storage ideal for large media libraries.
- Improved USB 3.0 throughput — offers faster sustained transfer speeds for external SSDs.
- Low power consumption — designed for efficient 24/7 operation without raising electricity costs.
- Small and quiet — easy to tuck behind a TV or inside a media cabinet.
- Highly flexible — supports everything from Jellyfin/Plex to Samba shares, Docker automation tools, VPN services, DLNA, and more.
- Strong community ecosystem — abundant documentation, images, examples, and tutorials.
Tradeoffs to be aware of
The RPi 5 is powerful for its size, but it is not a full desktop CPU and still has limitations:
- On-the-fly transcoding of demanding formats (especially 4K HEVC to older codecs) remains challenging.
- Direct play — in which the client device handles decoding — is still the best way to achieve smooth playback.
- Heavy multi-user transcoding workloads should be handled by a dedicated x86 system if needed.
For most homes, especially those with modern streaming clients, the Pi 5 performs extremely well.
Hardware Requirements of Raspberry Pi Media Server
Core Components
- Raspberry Pi 5 (4GB or 8GB)
The 4GB model is excellent for typical Jellyfin setups.
The 8GB model is ideal if you plan to run multiple Docker services simultaneously. - Official Raspberry Pi 27W USB-C Power Supply
The Pi 5 requires more stable power under load, especially when using NVMe. - microSD card (16–32 GB)
Used for the OS if you don’t boot directly from NVMe. A high-quality card is important.
Storage (critical for media hosting)
The Pi 5 introduces more storage options:
Option 1: NVMe SSD (best)
Using the official Raspberry Pi M.2 HAT, you can attach an NVMe SSD.
Advantages:
- Very fast sequential and random I/O
- Much more durable than microSD
- Ideal for large media collections
- OS can be booted directly from NVMe after initial setup
Option 2: External USB 3.0 SSD
Still an excellent option:
- Great for Jellyfin/Plex metadata scraping
- Low latency and silent operation
- Easy installation
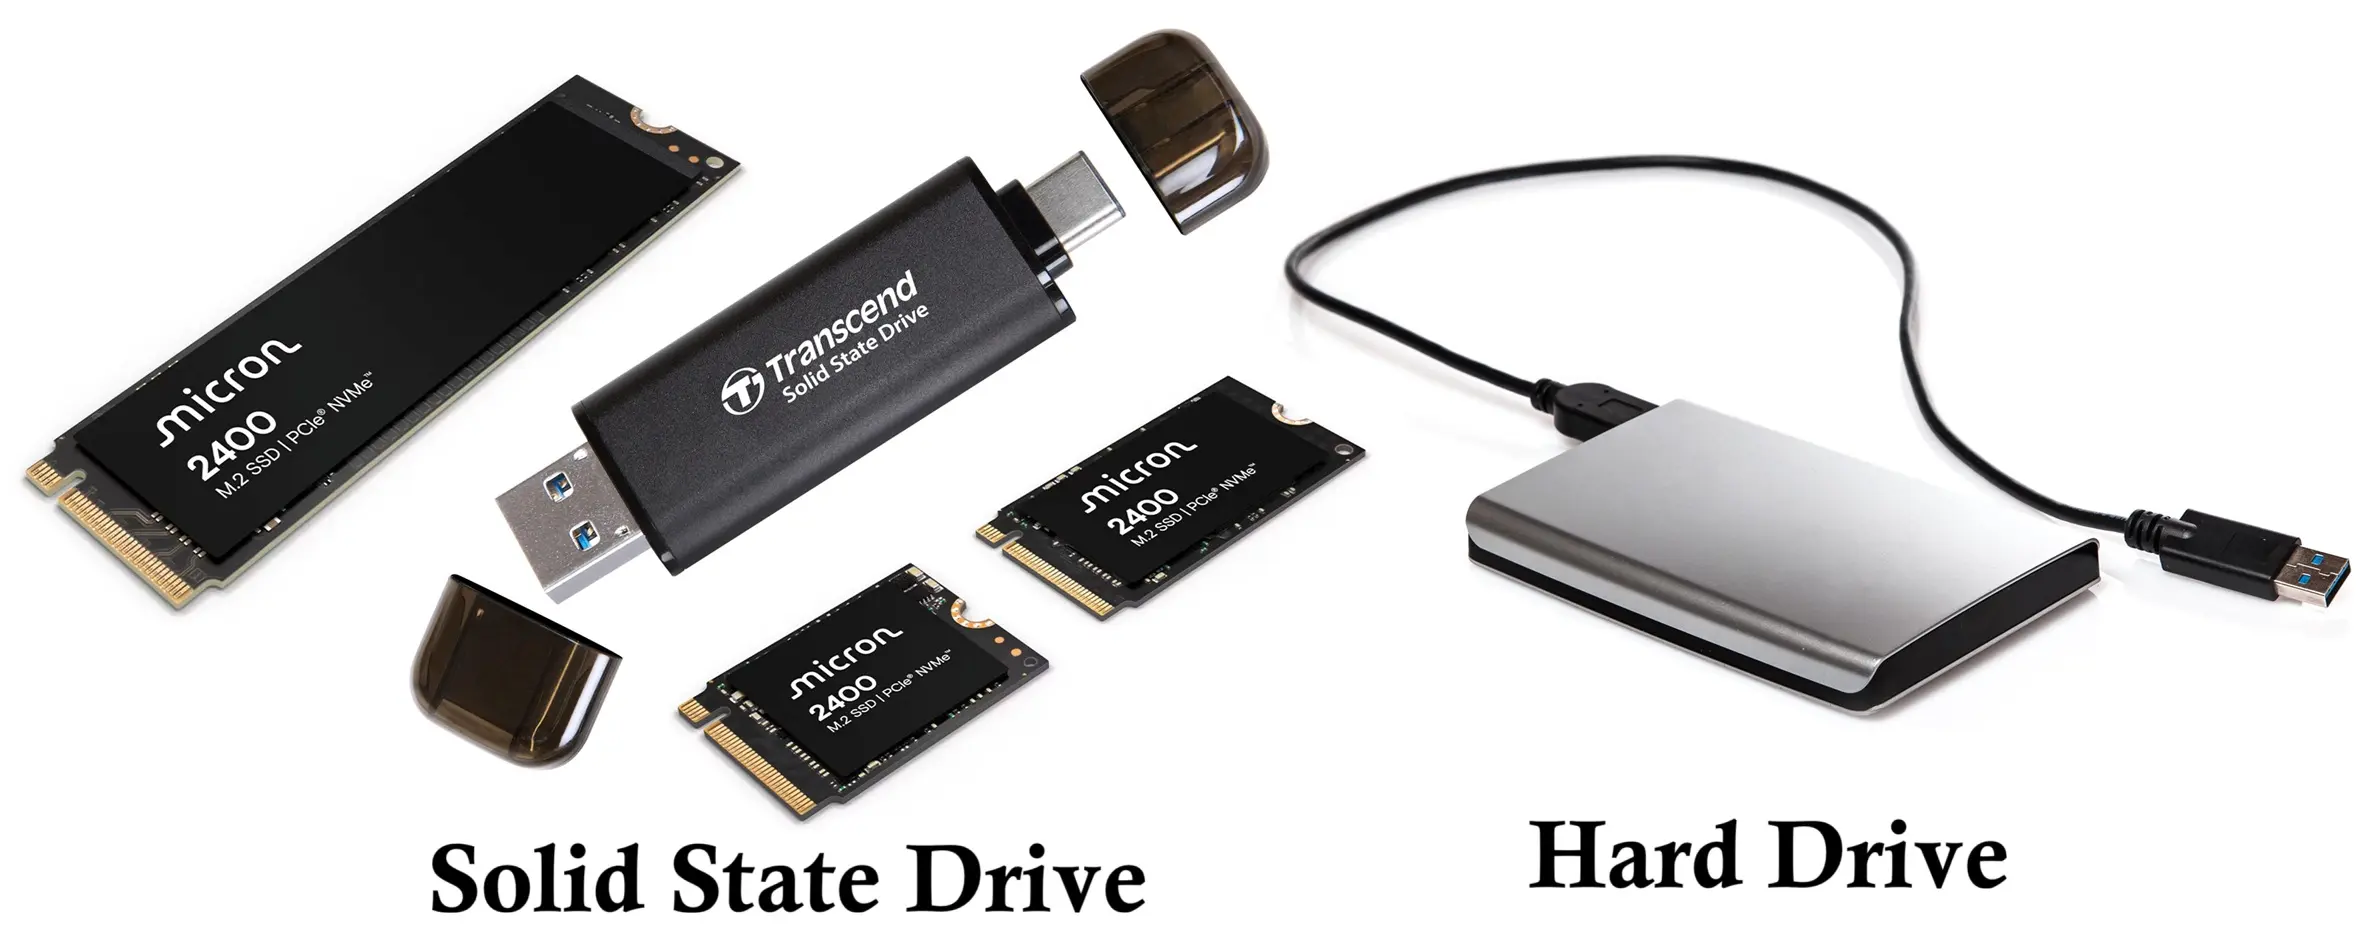
Option 3: USB HDD
Economical option with high capacity:
- Cheaper per TB
- Slightly slower and louder
- Fine for large libraries where throughput requirements are moderate
Networking
- Gigabit Ethernet strongly recommended.
The Pi 5 achieves more consistent high-bitrate streaming than earlier models. - Wi-Fi 5 is acceptable for light usage but can stutter with high-bitrate media.
Cooling & case
The Pi 5 runs considerably hotter than the Pi 4.
- Use the official Raspberry Pi Active Cooler for best performance.
- Alternatively, choose a case with a built-in fan.
- Avoid passive-only cooling for long-running media workloads.
Extra IO Devices
- A keyboard and HDMI display for the first boot if not doing a headless setup.
- VPN-capable router if you plan to access your media externally.
- NVMe screws and standoffs if using the M.2 HAT.
Choose Your Software for Media Server
Jellyfin
Free, open source, and highly capable. Excellent UI, strong metadata handling, and active development. Runs very efficiently on Pi 5.
Plex
Polished experience with superb client support. However, some features (especially hardware transcoding) require a Plex Pass.
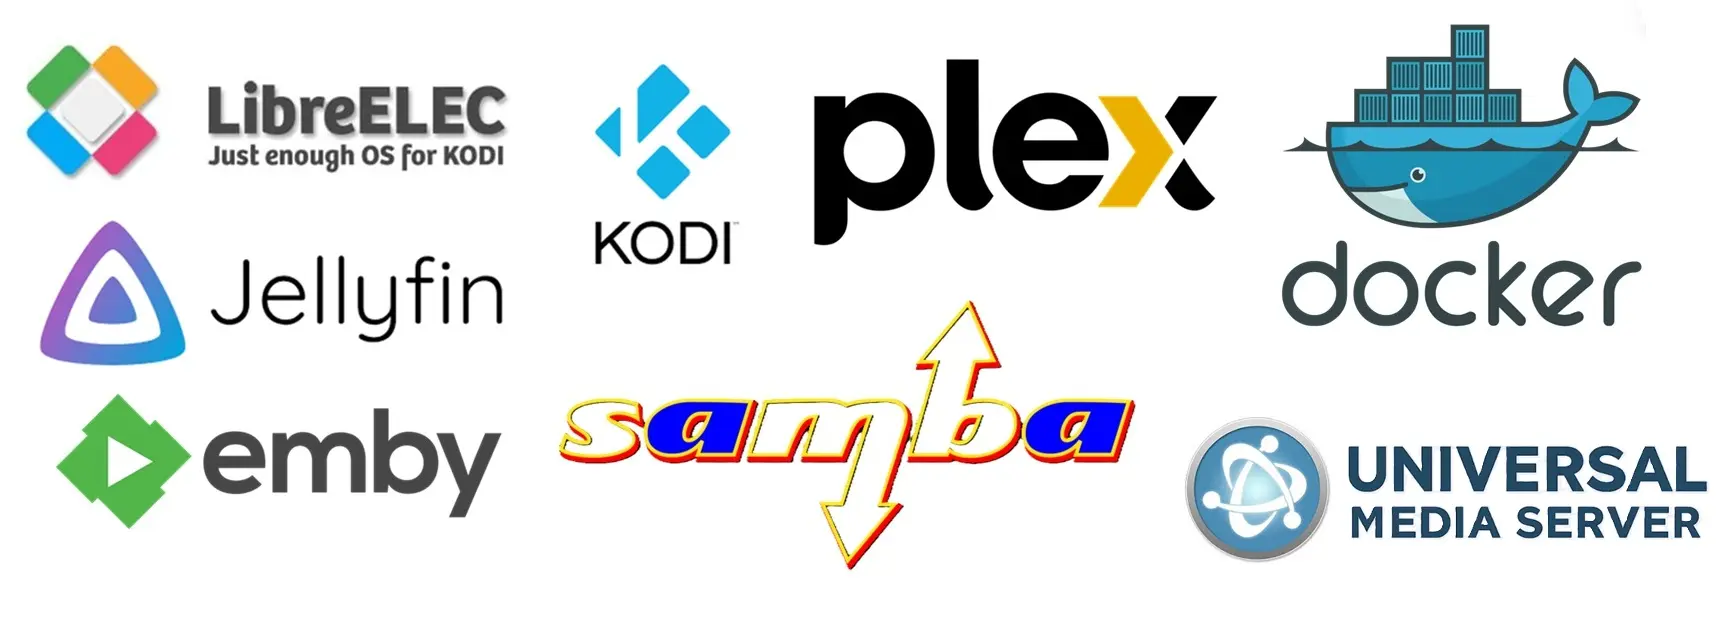
Emby
Similar to Plex with a blend of free and paid features. Less common than Jellyfin.
Kodi / OSMC / LibreELEC
Great if you want the Pi itself to act as a media player instead of or in addition to serving media across your network.
Samba / NFS
Used for sharing media directories with other devices, or for manually copying media onto the server.
Docker
Strongly recommended for modular, future-proof setups: run Jellyfin, automation tools, reverse proxies, file sharing, and more in isolated services.
In this guide, Jellyfin serves as the primary media server example.
Simple & Reliable setup (Jellyfin + SSD/NVMe)
1) Prepare the OS
Download Raspberry Pi OS Lite (64-bit).
Flash using Raspberry Pi Imager or balenaEtcher.
Enable SSH during imaging or by placing an empty ssh file in the boot partition.
Boot the Pi and configure the basics:
sudo raspi-config
sudo apt update && sudo apt full-upgrade -y
In raspi-config, set hostname, timezone, locale, and expand the filesystem if necessary.
Security note
Change the default password immediately. Later, disable password-based SSH login and use SSH keys.
2) Connect and format your media drive
Identify your drive:
lsblk
Assume the device is /dev/nvme0n1 for NVMe or /dev/sda for USB.
Partition, format, and mount:
sudo parted /dev/sda --script mklabel gpt mkpart primary ext4 0% 100%
sudo mkfs.ext4 -L MEDIA /dev/sda1
sudo mkdir -p /mnt/media
sudo mount /dev/sda1 /mnt/media
Automatically mount at boot:
sudo blkid /dev/sda1
sudo nano /etc/fstab
Add:
UUID=xxxxxxxx-xxxx-xxxx-xxxx-xxxxxxxxxxxx /mnt/media ext4 defaults,noatime 0 2
Set ownership:
sudo chown -R pi:pi /mnt/media
3) Install Jellyfin (APT repo or Docker)
Option A — Install using APT (easiest)
sudo wget -O /usr/share/keyrings/jellyfin.gpg https://repo.jellyfin.org/debian/jellyfin_team.gpg.key
echo "deb [signed-by=/usr/share/keyrings/jellyfin.gpg] https://repo.jellyfin.org/debian bookworm main" \
| sudo tee /etc/apt/sources.list.d/jellyfin.list
sudo apt update
sudo apt install jellyfin -y
Enable service:
sudo systemctl enable jellyfin
sudo systemctl start jellyfin
Access:
http://<PI_IP>:8096

Option B — Install Jellyfin using Docker (recommended)
Install Docker:
curl -fsSL https://get.docker.com | sh
sudo usermod -aG docker pi
Install Composer plugin:
sudo apt install docker-compose-plugin -y
Create docker-compose.yml:
version: "3.8"
services:
  jellyfin:
    image: jellyfin/jellyfin:latest
    container_name: jellyfin
    ports:
      - 8096:8096
    volumes:
      - /mnt/media:/media
      - /home/pi/media-server/config/jellyfin:/config
    devices:
      - /dev/video0:/dev/video0
    restart: unless-stopped
Start Jellyfin:
docker compose up -d
4) Configure Jellyfin
Open the web UI:
http://<PI_IP>:8096
Set up:
- Admin account
- Libraries (Movies, TV, Music, Photos)
- Metadata providers
Allow the server to complete its initial library scan.

5) Samba file share (optional but convenient)
Install:
sudo apt install samba -y
Edit configuration:
sudo nano /etc/samba/smb.conf
Add:
[Media]
   path = /mnt/media
   browseable = yes
   read only = no
   guest ok = no
   valid users = pi
Add Samba user:
sudo smbpasswd -a pi
sudo systemctl restart smbd
Connect from Windows/macOS:
\\<PI_IP>\Media

Advanced Setup: Docker Compose (Multiple Services)
Example multi-service configuration:
version: "3.8"
services:
  jellyfin:
    image: jellyfin/jellyfin:latest
    container_name: jellyfin
    volumes:
      - /mnt/media:/media
      - /home/pi/media-server/config/jellyfin:/config
      - /dev/video0:/dev/video0
    ports:
      - 8096:8096
    restart: unless-stopped

  samba:
    image: dperson/samba
    container_name: samba
    volumes:
      - /mnt/media:/share
    command: "-s 'Media;/share;yes;no;pi;password' -u 'pi;password'"
    ports:
      - 139:139
      - 445:445
    restart: unless-stopped
Start everything:
docker compose up -d
Hardware Accelerated Transcoding on Raspberry Pi 5
The Pi 5 offers improved video capabilities via the V4L2 and VAAPI interfaces. Hardware acceleration is possible through /dev/video0, but performance is modest and varies depending on codecs and clients.
Practical guidelines:
- Favor direct play and avoid transcoding when possible.
- Use clients with native support for your media formats.
- Pre-encode incompatible files with HandBrake or ffmpeg.
- If you require multiple simultaneous transcodes, use a stronger x86 system.
Network Setup and Remote Access
LAN:
- Assign a static IP to your Pi (via router or local config).
- Use wired Ethernet for consistent streaming performance.
Remote access:
- Prefer VPN (WireGuard is ideal).
- If exposing Jellyfin publicly, use a reverse proxy (Traefik/Nginx) and HTTPS.
- Never expose Samba or SSH directly to the internet.
Best Security Practices
- Change default usernames and passwords.
- Enable SSH key authentication; disable password login.
- Update system regularly:
sudo apt update && sudo apt upgrade -y
- Restrict open ports with
ufw. - Do not run containers as root.
- Back up Jellyfin metadata and config directories.
Performance Tuning and Maintenance
- Use adequate cooling to avoid throttling.
- Avoid running your media server from an SD card; use SSD or NVMe.
- Disable unused features and services.
- Prefer Raspberry Pi OS Lite for minimal overhead.
- Monitor drive health and free space.
- Use
noatimeto cut unnecessary writes.
Organizing your media for the best results
/mnt/media/
  Movies/
    Movie Title (Year)/Movie Title (Year).mkv
  TV/
    Show Name/Season 01/Show.Name.S01E01.mkv
  Music/
    Artist/Album/track01.flac
  Photos/
Consistent naming helps metadata scrapers produce accurate results.
Example maintenance commands
Reboot:
sudo reboot
Follow logs:
sudo journalctl -u jellyfin -f
Disk usage:
df -h
Update system:
sudo apt update && sudo apt full-upgrade -y
Update Docker images:
docker compose pull
docker compose up -d
Common Issues and Troubleshooting
Playback stutters
- Ensure the client is performing direct play.
- Use wired Ethernet.
- Confirm the drive is fast enough and mounted correctly.
Slow performance during library scans
- Switch from an HDD to SSD/NVMe.
- Verify that cooling is adequate.
Incorrect metadata
- Check naming conventions.
- Rescan specific items in Jellyfin or adjust settings.
Ideas to Expand Your Media Server
- Jellyfin or Plex clients on TVs and devices.
- Automated media management using Sonarr, Radarr, Lidarr.
- Network-wide ad blocking with Pi-hole.
- Private file syncing with Nextcloud.
- Scheduled snapshots or backups to a second drive or cloud server.
Advanced Example: Jellyfin + Traefik + Samba in Docker
version: "3.8"
services:
  traefik:
    image: traefik:v2.10
    command:
      - --providers.docker
      - --entrypoints.web.address=:80
      - --entrypoints.websecure.address=:443
      - --certificatesresolvers.leresolver.acme.tlschallenge=true
      - --certificatesresolvers.leresolver.acme.email=you@example.com
      - --certificatesresolvers.leresolver.acme.storage=/letsencrypt/acme.json
    ports:
      - "80:80"
      - "443:443"
    volumes:
      - /var/run/docker.sock:/var/run/docker.sock:ro
      - ./letsencrypt:/letsencrypt
    restart: unless-stopped

  jellyfin:
    image: jellyfin/jellyfin:latest
    volumes:
      - /mnt/media:/media
      - ./jellyfin/config:/config
    labels:
      - "traefik.enable=true"
      - "traefik.http.routers.jellyfin.rule=Host(`jellyfin.yourdomain.com`)"
      - "traefik.http.routers.jellyfin.entrypoints=websecure"
      - "traefik.http.routers.jellyfin.tls.certresolver=leresolver"
    restart: unless-stopped

  samba:
    image: dperson/samba
    volumes:
      - /mnt/media:/share
    command: "-s 'Media;/share;yes;no;pi;YOUR_SMB_PASS'"
    ports:
      - "139:139"
      - "445:445"
    restart: unless-stopped
Final Checklist Before Starting
- Raspberry Pi 5 with adequate cooling and official power supply
- SSD or NVMe storage mounted and reliable
- OS installed and fully updated
- Jellyfin or Plex reachable from your LAN
- Media libraries configured and scanned
- Samba/NFS set up if needed
- Secure remote access (VPN recommended)
- Backup plan in place
Summary and Recommendations
The Raspberry Pi 5 represents a significant upgrade for home media server builds. Its improved CPU, NVMe support, and higher I/O performance make it an excellent foundation for Jellyfin or Plex. For most users, a Raspberry Pi 5 + NVMe or SSD + Jellyfin setup strikes the perfect balance between simplicity, affordability, and capability.
Direct play remains the most reliable playback method, and Docker brings additional modularity for users who choose to expand their setup. Focusing on cooling, networking, and good file organization ensures a smooth and dependable long-term experience.
Raspberry Pi 5 Pinout, specifications, Pricing A Complete Guide